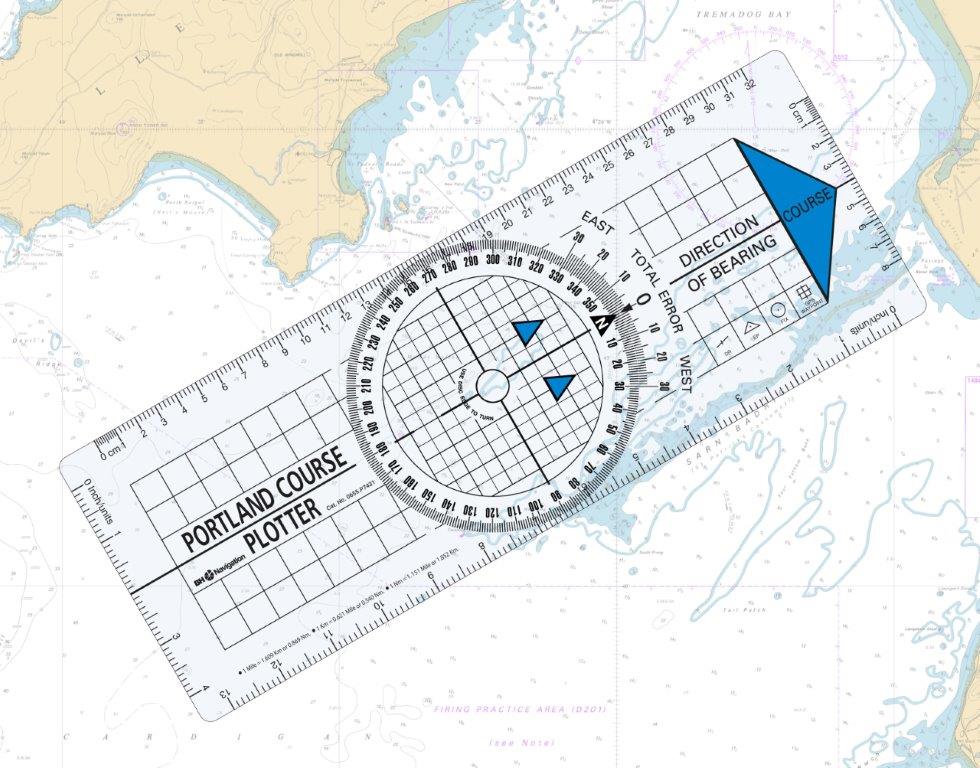
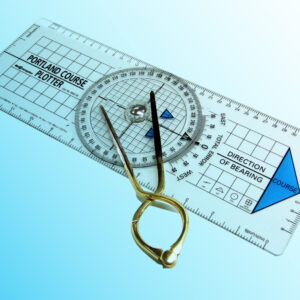
A Portland Plotter, often referred to as a nautical protractor, is a vital navigation tool used by mariners for chart plotting. Its primary purpose is to measure angles and courses on nautical charts, ensuring a vessel stays on the right heading. Below is a comprehensive guide on how to use a Portland Plotter in your maritime navigation.
NOTE: Our guides are intended as just that, a guide. Please seek professional instruction before attempting to use these tools yourself.
What You’ll Need:
- Portland Plotter
- Nautical Chart
- Pencil
- Parallel Rulers (optional but helpful for more advanced plotting)
1. Understanding the Portland Plotter
A Portland Plotter consists of:
- Baseplate: Transparent rectangle with grid lines.
- 360° Protractor: A circular or semi-circular element used for measuring angles and bearings.
- Rotating Bezel: This can be adjusted to align with different angles or courses on the chart.

2. Setting Your Chart
Lay your nautical chart flat on a surface, ensuring it’s secure so it doesn’t shift as you work. It helps to weigh the corners down with something light, like chart weights or even objects like cups, as a quick fix.
3. Plotting a Course
Now, to plot a course on the chart using your Portland Plotter, follow these steps:
A. Step 1: Align the Plotter
- Identify two points on your chart that represent the starting point (A) and the destination (B).
- Place the long straight edge of the Portland Plotter so it connects both Point A and Point B.
B. Step 2: Adjust for Bearings
- Rotate the bezel (the circular protractor) until the North-South grid lines on the plotter are parallel to the meridians (vertical lines) on the chart.
- Ensure that the 0°-180° axis is correctly aligned with True North on the chart.
C. Step 3: Read the Bearing
- After aligning the grid lines, check the plotter’s bezel to find the bearing.
- The number where the edge of the plotter crosses the protractor scale is your bearing (course angle).
- Example: If the edge crosses at 045°, then your course is 045° True.
D. Step 4: Marking the Course
- With the correct bearing obtained, draw a line from Point A to Point B, or mark intermediate waypoints as needed.
- This line represents the course you need to steer.

4. Converting True to Magnetic Bearings
Most charts are laid out with respect to True North. However, the compass on your vessel will give you a Magnetic Bearing, which may vary depending on local magnetic declination (variation). To convert True Bearings to Magnetic Bearings:
Formula:
- Magnetic Bearing = True Bearing – Magnetic Variation
Using the saying ‘Variation West, Magnetic best. Variation East, Magnetic Least’, you can find the magnetic bearing from the true bearing plotted on the chart. For example, a true bearing of 020 degrees with a magnetic variation of 2W will result in a magnetic bearing of 022 degrees.’
5. Using the Plotter for Dead Reckoning
Dead reckoning is the process of estimating your current position based on a known speed, course, and time. Using a Portland Plotter, you can mark your estimated position on the chart based on the distance travelled along your plotted course.
- Plot your initial position on the chart.
- Determine your speed and calculate the distance travelled based on the time.
- Use the plotter to extend your course by that distance, marking your estimated position.
6. Tips for Accurate Plotting
- Ensure the chart is up-to-date: Use the latest edition of your chart to ensure it reflects current conditions.
- Use a soft pencil: Plot your courses with a pencil that can be easily erased if needed.
- Double-check alignment: Always verify that your plotter’s lines are correctly aligned with the chart’s meridians before reading the course.
7. Maintaining the Portland Plotter
- Keep it clean: A dirty plotter can obscure your view of the chart.
- Check for warping: Over time, plastic plotters can warp in heat, affecting their accuracy.
- Store it flat: When not in use, store your plotter flat to prevent bending.
Using a Portland Plotter can seem daunting at first, but with practice, it becomes a simple and invaluable tool for accurate navigation. By following the steps above, you’ll be able to confidently plot courses, convert bearings, and engage in dead reckoning navigation. Always ensure you practice regularly to keep your skills sharp!


